Other Documentations
Getting Started with EventON: Adding Events
September 7, 2023
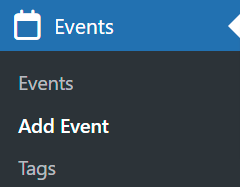
Once you have installed and activated EventON you should see “Events” menu item on the left side menu bar in your WordPress admin dashboard. Please take a look at the following article to learn more about installation: Installation guide for EventON
Step 1:
Click Add Event link on the left side menu or from the Events menu item.
Step 2:
Write the event title and description of the event in the block editor.
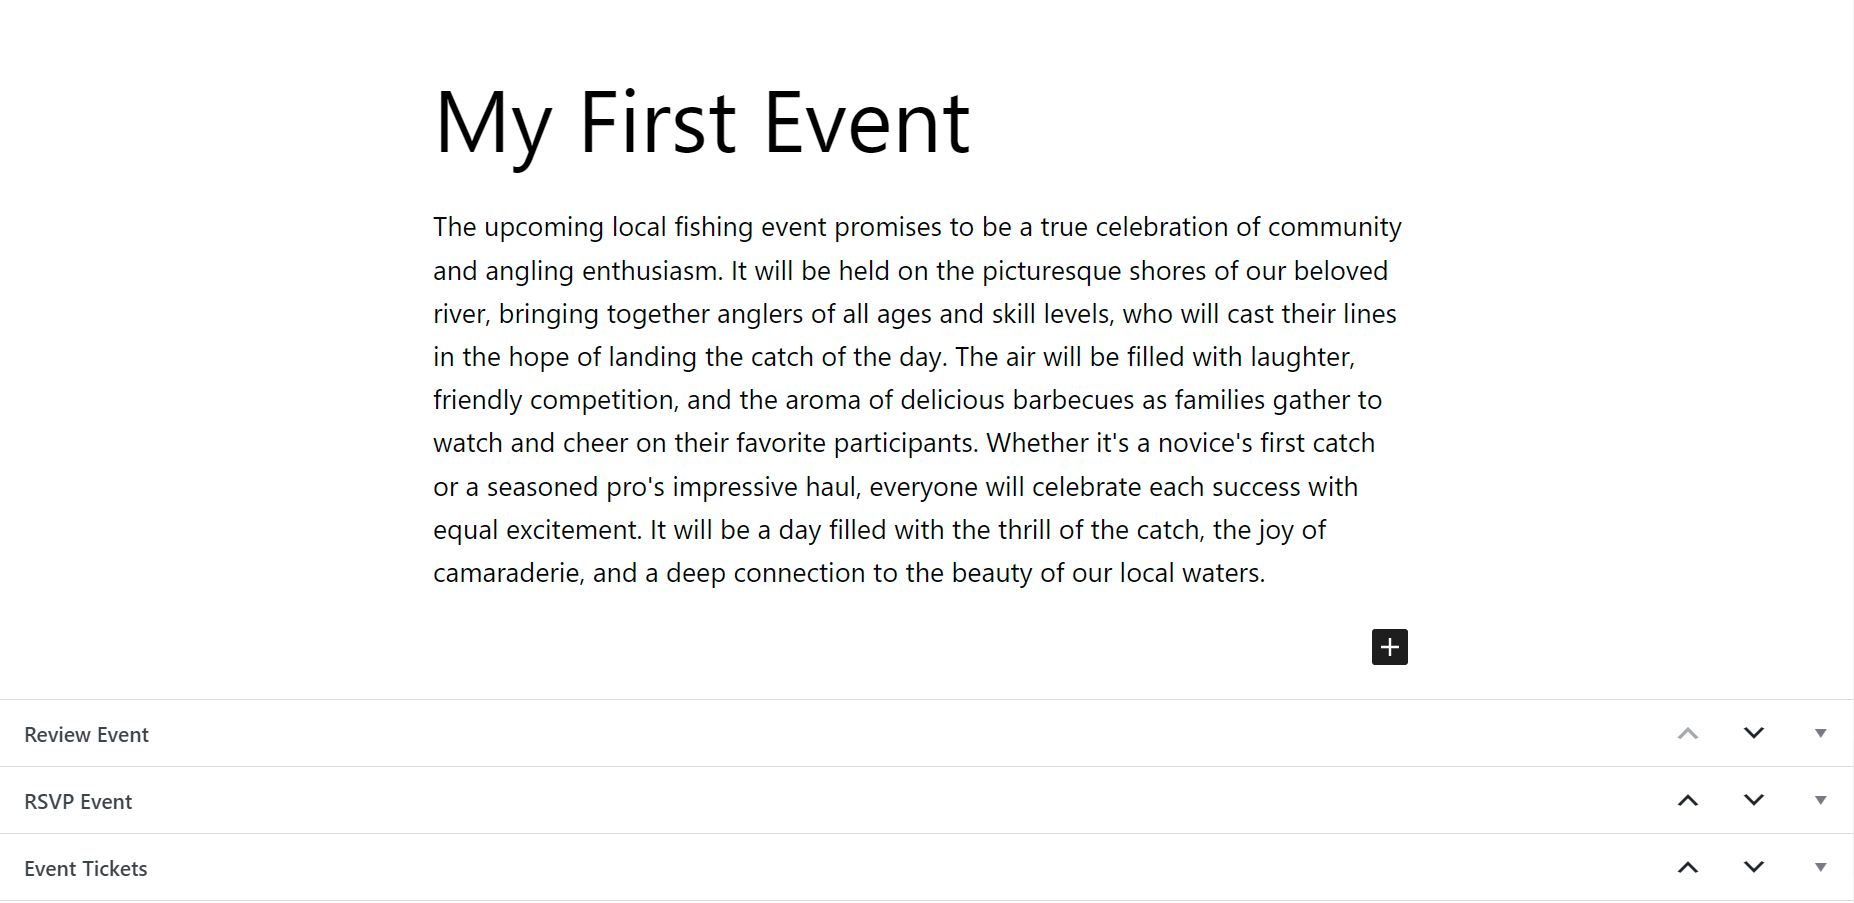
Did you know?
You can also add additional images inside the WYSIWYG editor which will show up under event details section on EventON calendar. The WYSIWYG editor can also be used to post links to PDF files and downloadble files for events.
Step 3:
Fill in the most important event date and time information and other information about the event under Event Details section.
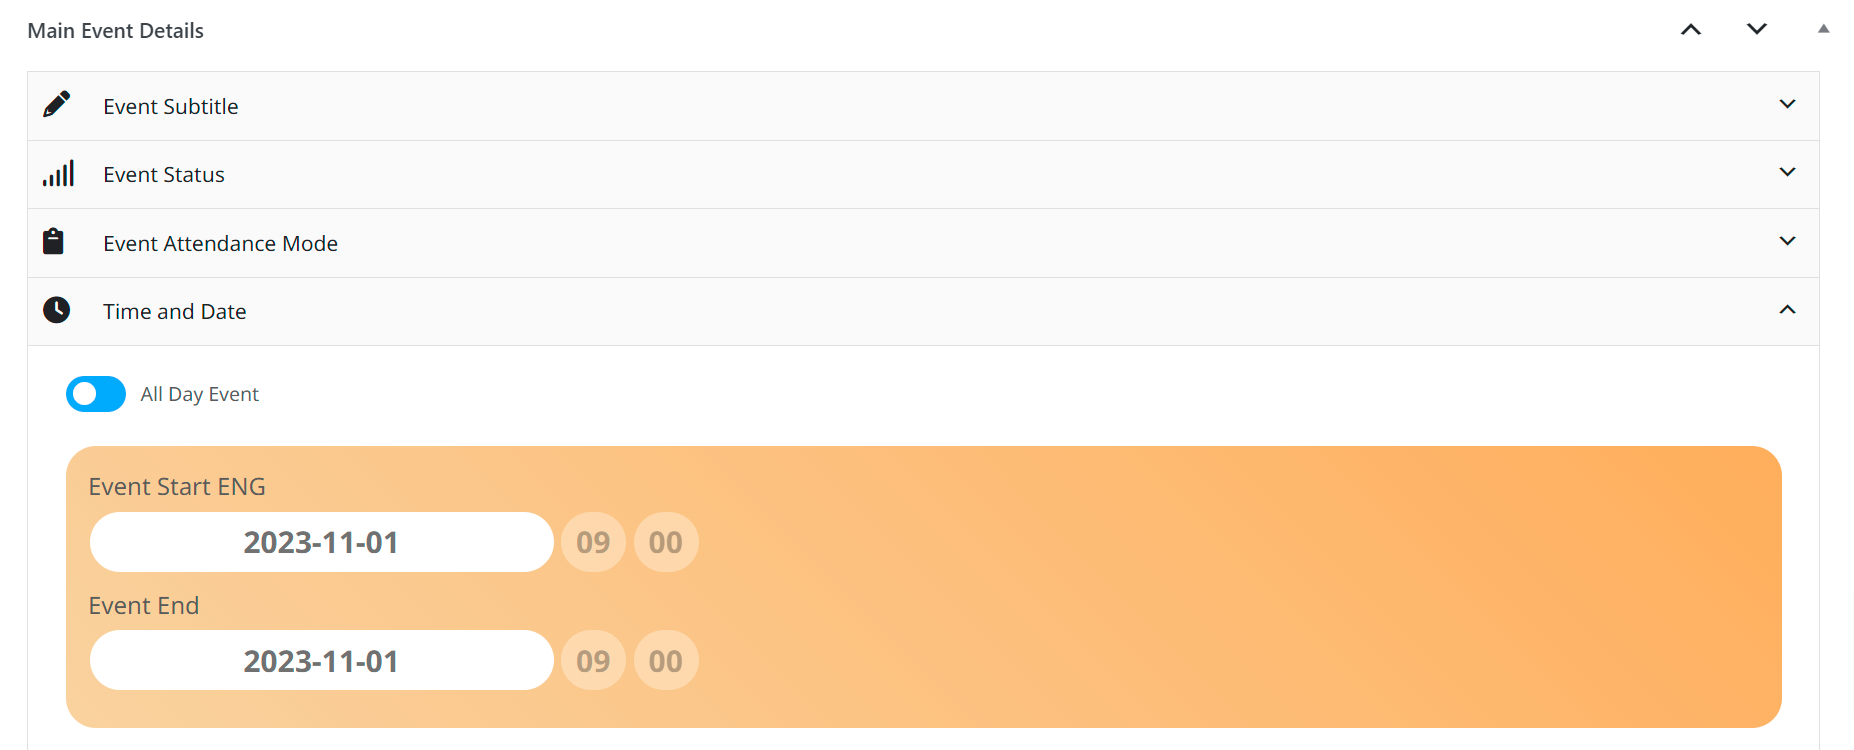
NOTE: When you are selecting the date make sure you also set an end date for the event. If you don’t select an end date, system will automatically use the start date as the end date of the event.
Step 4:
Select an event color. If this is your first event you will not see a selection of colors to choose from. You will have to click on the top section of this box and then select a color from the color picker.
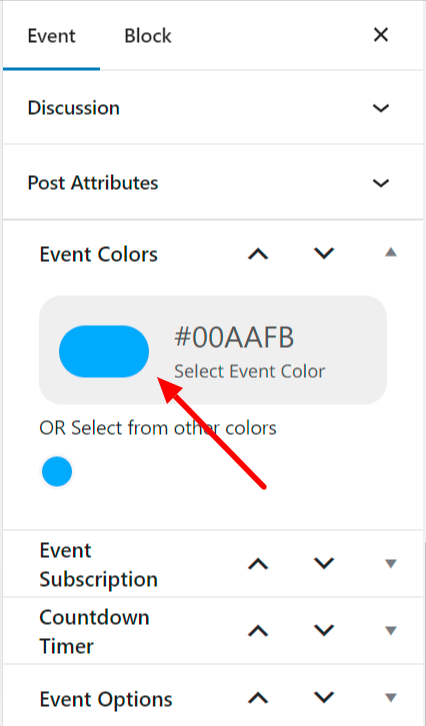
NOTE: Once you have saved colors for events they will show up under color selection for new events in the future.
Step 5:
Set Event Type and Event Type 2 tags for event. (Not required)
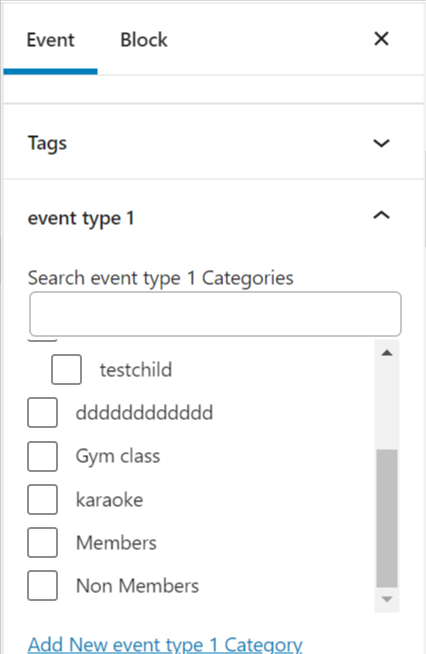
Event-type tags can be used to filter events on the EventON calendar.
Learn more about how to do more with event_type.
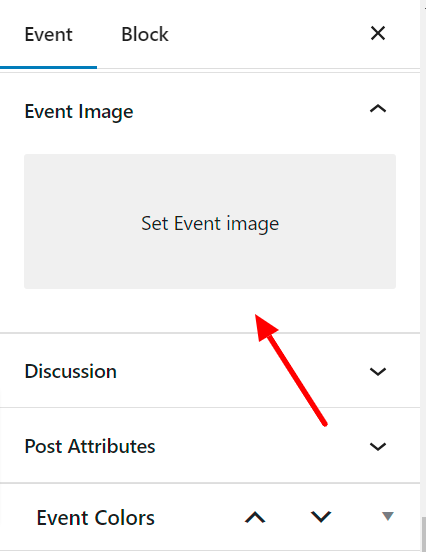
Step 6:
Set a Featured Image for the event. (Not required) Adding a featured image to an event will display this image across eventCard on the EventON calendar above the Event Details section (once the eventCard is slide down).
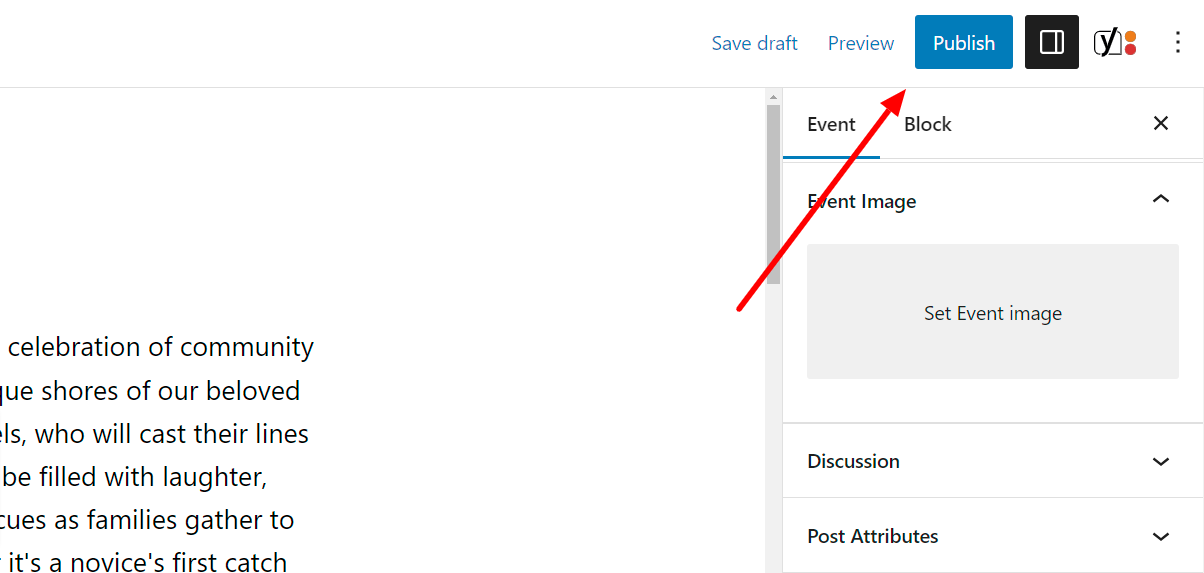
Step 7:
Last but not least Publish the event by clicking on the publish button in the Publish panel box.
Did this article help you? If not, send us a ticket via helpdesk